Creating activities and lessons that encourage children to play provides a lot more than just fun. Sometimes it is the necessary disguise for those young learners who may struggle academically and find learning to be a daunting task. Tactile experiences not only can help to disguise a teacher’s actual intent, but are important for helping all young children to actively engage in their learning.
The first time we saw rainbow rice it immediately got added to the mental “to-do” list! There is something so satisfying about the thought of playing in a bucket full of rainbow sprinkle look-alikes…. and we are here to report it was JUST as satisfying to make! You can jump to the instructions for Simple Rainbow Rice, but keep reading to see our insights into the process and some of our suggested activities.
Our sensory table is considered to be for children ages 18 months – 3 years old. So for reference, we used a 10 lb bag of rice, which is about 25 cups of rice. This filled our 20 liter sensory table nicely enough for two toddlers to play in. The picture only shows the bin filled with half of the rice we made. This is where we will note that we made two batches of every color because we didn’t know how much rice would be needed to fill the bin.
The estimated time this project took, from start time to playtime, was about 1 hour. If you make larger batches of rice you could probably cut that time down to much less. After you decide on how many colors to make, you can determine how big your batches will be.

Gather your materials: uncooked white rice, zip-lock bags, food coloring or watercolor liquids, rubbing alcohol, brown packing paper/paper bags, and cookie trays.
In the first steps you will measure out your rice and rubbing alcohol into a zip-lock bag. Our ratio of rice to rubbing alcohol was a ½ tsp for every cup of rice.
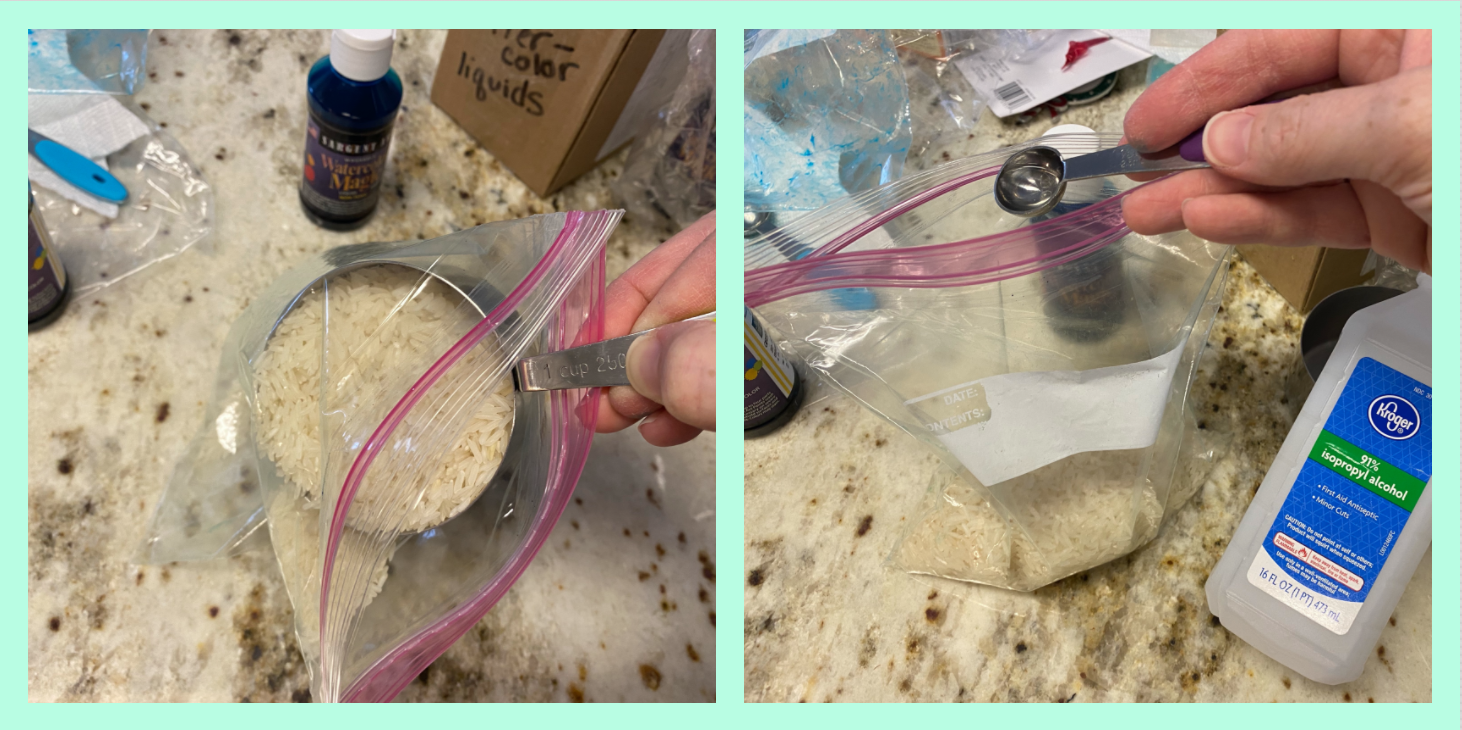
You will want to close the bag tight and swish everything around until the rice is evenly coated. Open the bag again and add the dye. For one cup of rice we generally found that 10-15 drops of dye yielded the color we wanted, but this will depend on the dye type and color choice. If you are unsure we suggest starting with less and adding more if you desire.

We started with liquid watercolors, which we discovered were “washable” about halfway through this project. We did test a little handful under the faucet and sure enough most of the color washed off! So being placed directly in water would be an issue, BUT this rice is not intended to get wet anyway. We’ve been playing with it for a week now and there have not been any issues of color loss. We also tried some neon food coloring (which we did not attempt to wash) and that provided different tones that were slightly more vibrant. Once you’ve added the dye close the bag tight again and swish everything around until the rice is evenly coated.
Prepare a tray by laying the brown paper on top of it. Dump the rice onto the paper and spread it out evenly with your hand or a paper towel. When the mixture of rubbing alcohol to rice is good the rice easily pours out of the bag and there is little to no dye residue. If this is the case, you can continue to use that bag for your other colors!
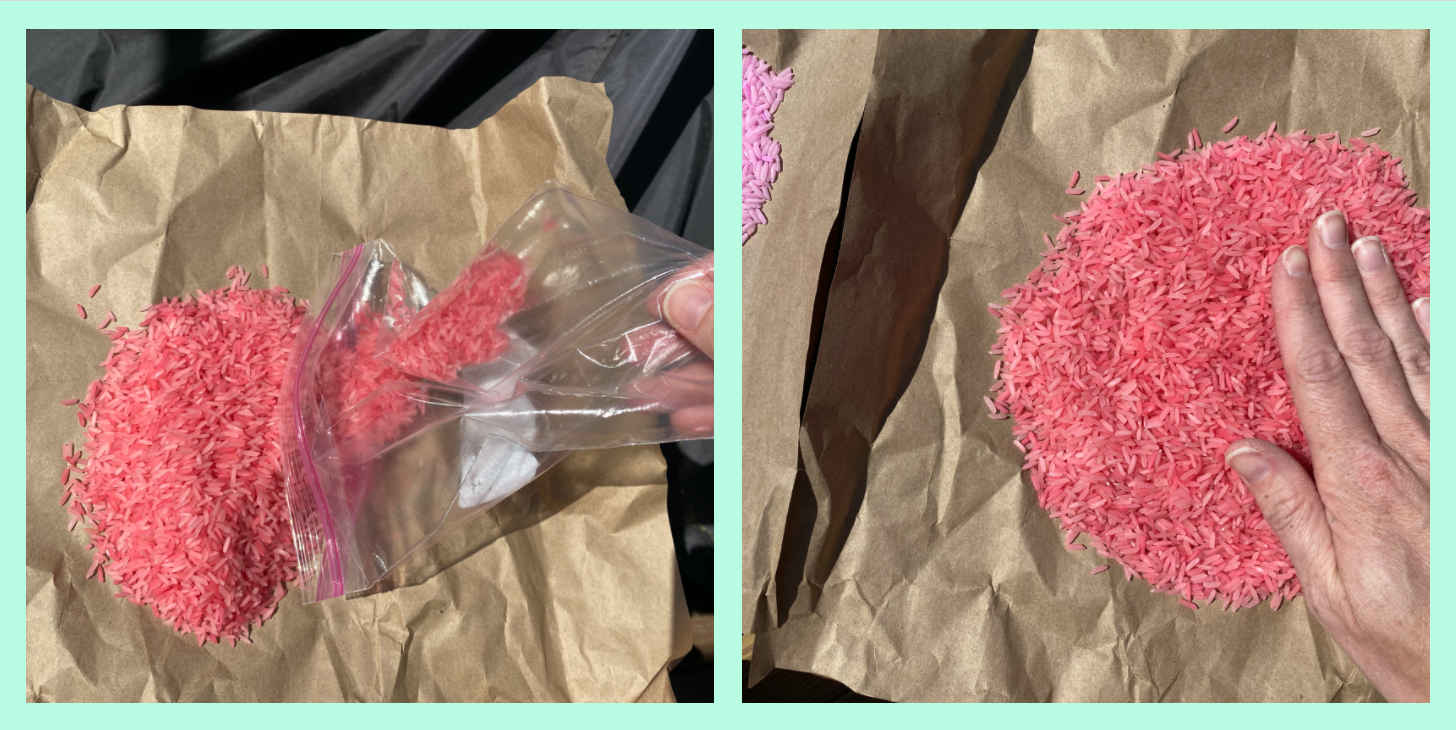
Lay your rice out to dry. You can test it by lightly tapping it with your palm and then by grabbing piles and running them through your hand. If your hands are left clean then your rice is ready for play!
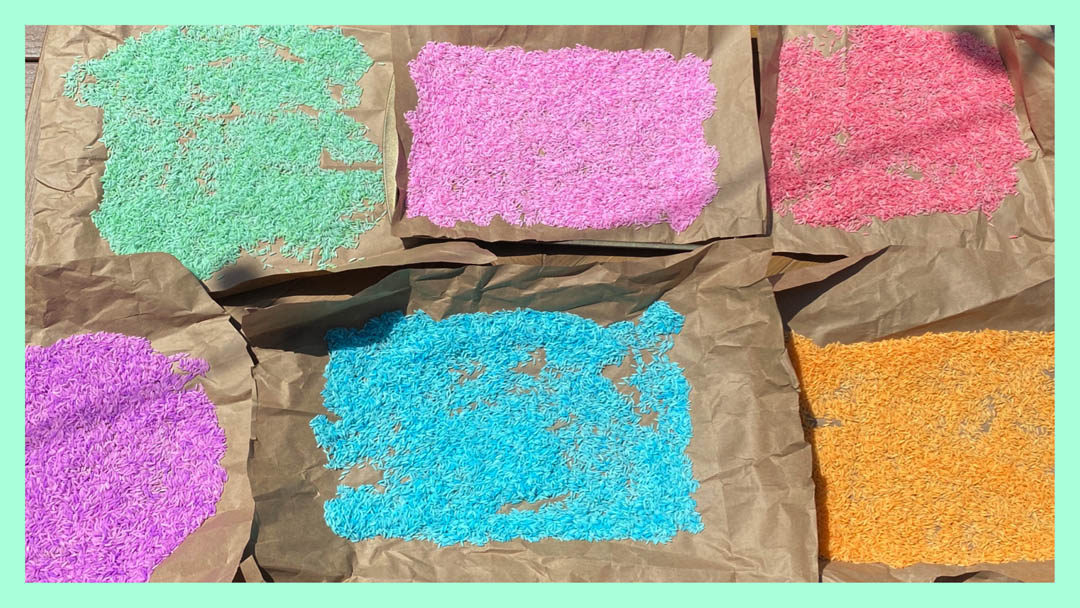
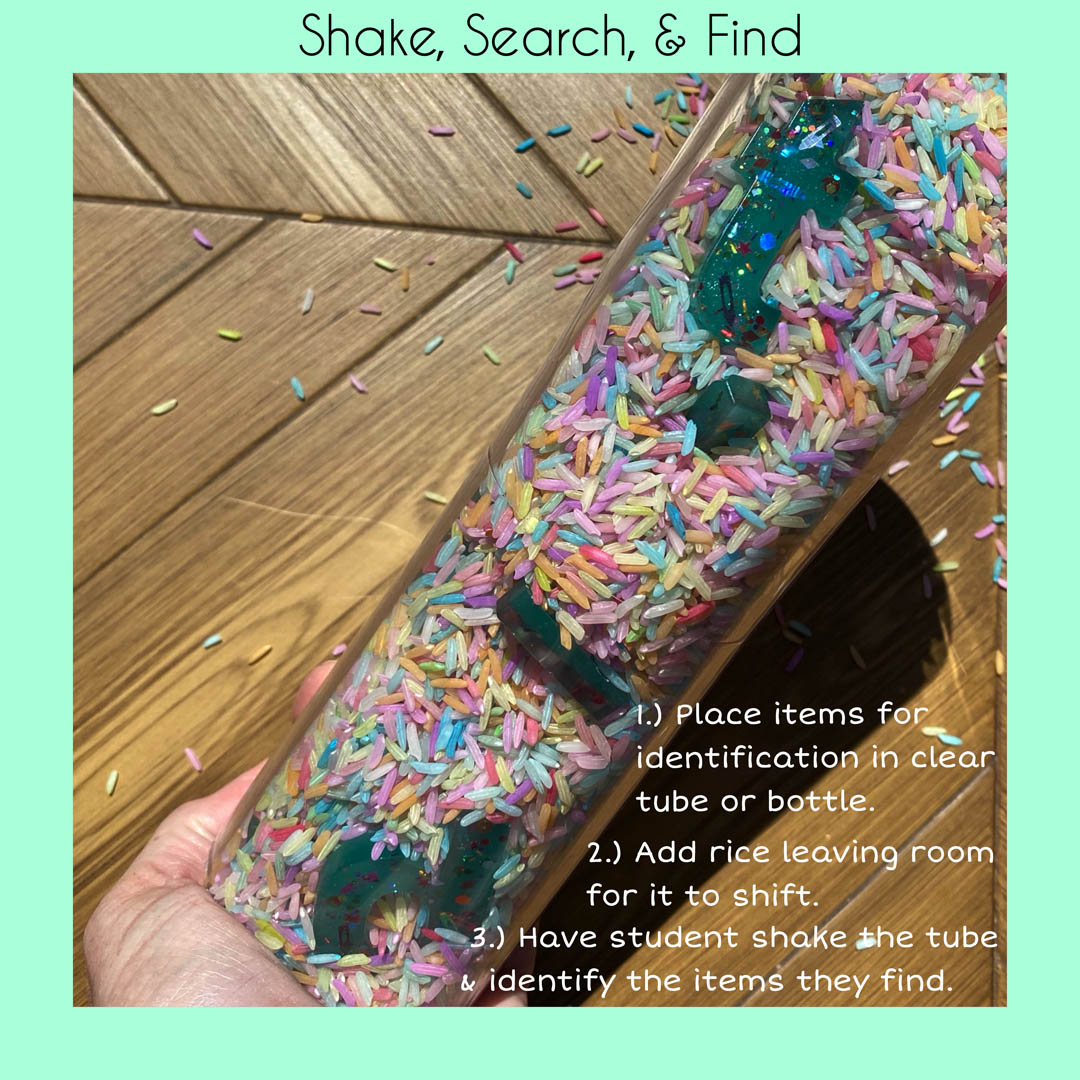
We hope you find this project and activity as satisfying as we did! Check out some of our educational ideas for sensory play. Perfect for Kindergarten, Preschool, and beyond!

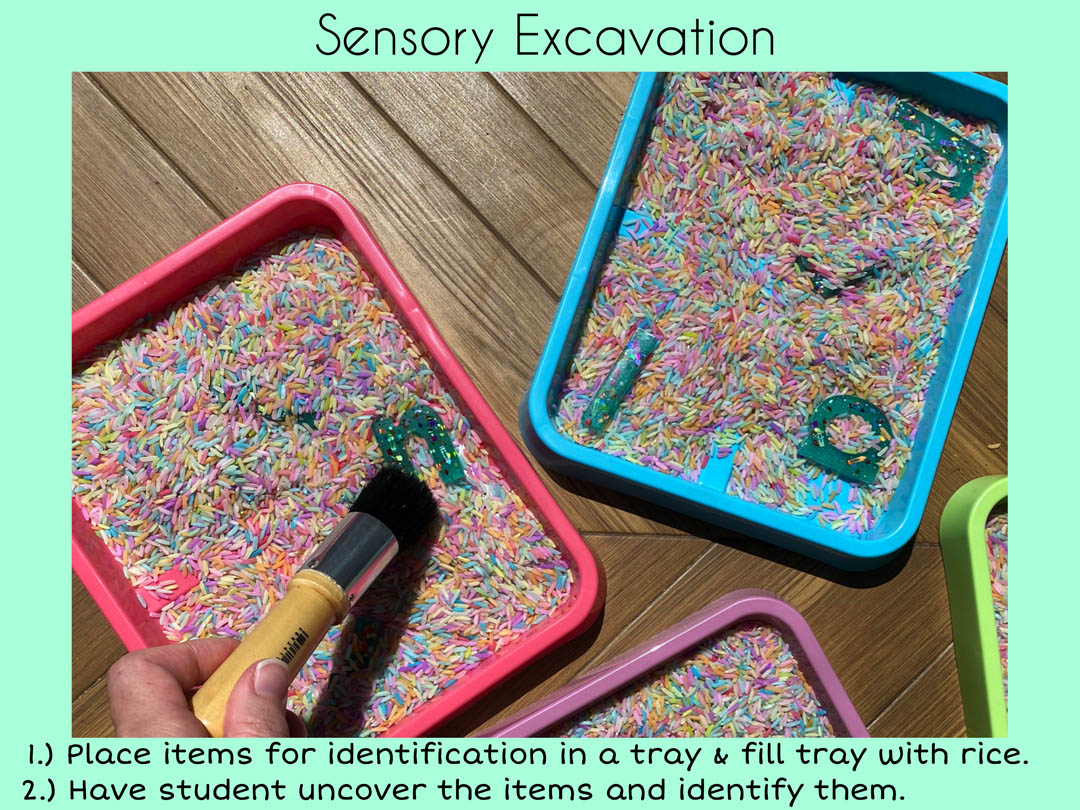

Have some fun sensory ideas of your own? Drop them in the comments below or let us know if you have a question about this project.

For reference: We used a 10 lb bag of rice, which is about 25 cups of rice. This filled our 20 liter sensory table nicely enough for two toddlers to play in.
What you need:
- Uncooked White Rice
- Zip-Lock Bags
- Food Coloring or Watercolor Liquids
- Rubbing Alcohol
- Brown Packing Paper/Paper Bag
- Cookie Trays
What you do:
We found that a ½ teaspoon of rubbing alcohol for every cup of rice was the best ratio. The number of colors you wish to make will determine how many and how large of batches you will need to make.
1. Add rice to zip-lock bag.
2. Add rubbing alcohol to zip lock bag. Zip the top and swish the rice around to give it an even coating.
3. Open the bag and add the desired colored dye. Zip the bag and swish it around to evenly coat the rice. We found that 10-15 drops of dye per cup gave us our desired results, but this will depend on the type of dye and colors you are using. Our suggestion is to use less at first, and slowly add more until you achieve your desired color.
4. Prepare a tray by laying the brown paper on top of it. Dump the rice onto the paper and spread it out evenly to dry. You will find that if your mixture of rubbing alcohol to rice was good that the rice easily pours out of the bag and there is little to no dye residue in the bag. If this is the case, you can continue to use that bag for your other colors!
5. Wait 5-10 minutes and test the rice for dryness. Blot it with your palm, if there is no color reside run a handful of rice through your fingers. Repeat this process feeling all of the rice on the tray. If no color comes off onto your hands it is ready for play!


What a great idea! And very pretty.